Apple launches Apple Store app in India

The Apple Store app provides customers with the most personalized way to shop for Apple’s innovative lineup of products and services. Learn more >

You can make a difference in the Apple Support Community!

When you sign up with your Apple Account, you can provide valuable feedback to other community members by upvoting helpful replies and User Tips.

Looks like no one’s replied in a while. To start the conversation again, simply ask a new question.

disk not ejected properly when time machine runs

I have a new Mac Mini running Ventura 13.0. I have two external drives hooked up to it. One is set for the backup with TimeMachine. The other has data I want backed up. I've run TimeMachine manually several times and it seems to work fine.


However when the lock screen is on, every time TimeMachine runs (every hour) there's two to three notifications "Disk Not Ejected Properly" for the data drive. It appears that TimeMachine still captures the data on the supposedly unmounted drive.


How do I prevent it from making these notifications? (It's a serious pain to have to dismiss 20+ notifications every morning)


Thanks in advance.


Mac mini

Posted on Mar 12, 2023 2:47 PM

Reply
Question marked as Top-ranking reply

Posted on Mar 19, 2023 8:08 PM

Thanks.


None of that seemed to help. I even bought a new USB hub thinking that might be the problem, but it didn't fix it.


However there was a setting about "put hard drives to sleep when possible" toggling that seems to have resolved the issue.

Similar questions

2 replies

Mar 14, 2023 2:00 PM in response to lth91

Hey there lth91,


Does changing the port the external drive is hooked up to have any impact on this? Test to verify as this can isolate the cause of this.


Another step that may help would be to run First Aid on the external drive. Here’s how:


1. Determine whether you're using a Mac with Apple silicon, then follow the appropriate steps:
* Apple silicon: Turn on your Mac and continue to press and hold the power button until you see the startup options window. Click the gear icon labeled Options, then click Continue.
* Intel processor: Turn on your Mac, then immediately press and hold these two keys until you see an Apple logo or other image: Command (⌘) and R.
4. You may be asked to select a user you know the password for. Select the user, then click Next and enter their administrator password.
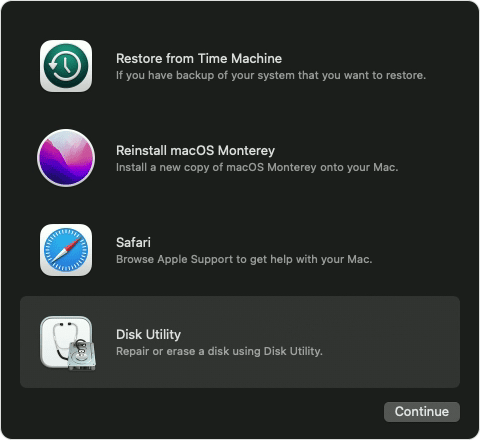
5. From the utilities window in macOS Recovery, select Disk Utility and click Continue.
6. macOS Recovery options with Disk Utility selected

Select your disk in Disk Utility
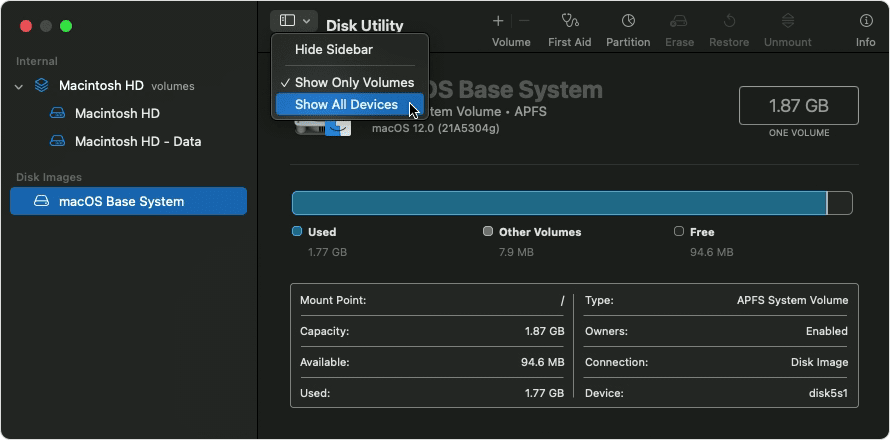
Choose View > Show All Devices (if available) from the menu bar or toolbar in Disk Utility.
Disk Utility: Show All Devices

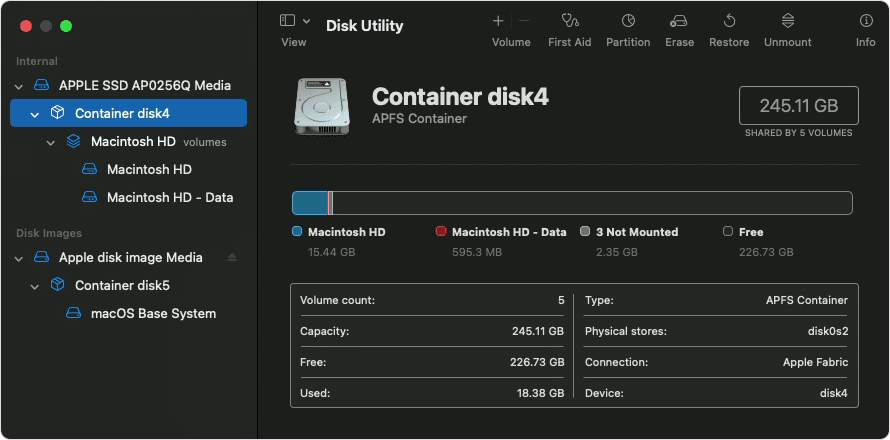
The sidebar in Disk Utility should now show each available disk or other storage device, beginning with your startup disk. And beneath each disk you should see any containers and volumes on that disk. Don't see your disk?

Disk Utility: Containers and Volumes

In this example, the startup disk (APPLE SSD) has one container and two volumes (Macintosh HD, Macintosh HD - Data). Your disk might not have a container, and it might have a different number of volumes.

Repair volumes, then containers, then disks
For each disk that you're repairing, start by selecting the last volume on that disk, then click the First Aid button  or tab.
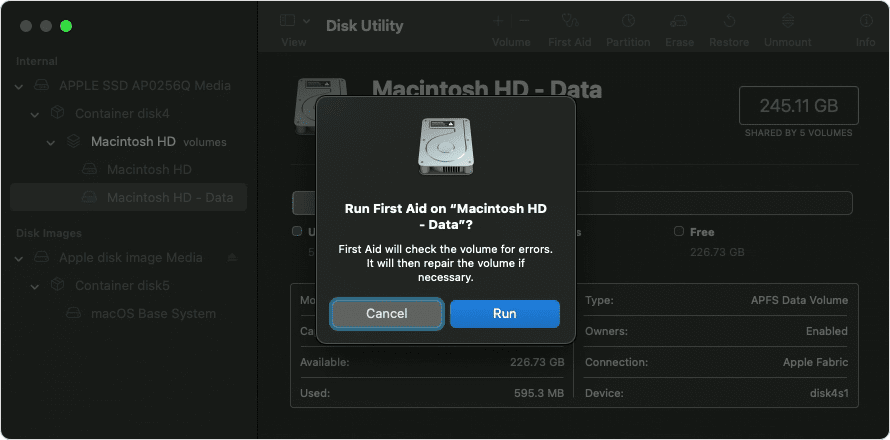
Disk Utility: Run First Aid?

In this example, the last volume on the disk is Macintosh HD - Data.

Click Run to begin checking the selected volume for errors.
* If there is no Run button, click the Repair Disk button instead.
* If the button is dimmed and you can't click it, skip this step for the disk, container, or volume you selected.
* If you're asked for a password to unlock the disk, enter your administrator password.
After Disk Utility is done checking the volume, select the next item above it in the sidebar, then run First Aid again. Keep moving up the list, running First Aid for each volume on the disk, then each container on the disk, then finally the disk itself. 
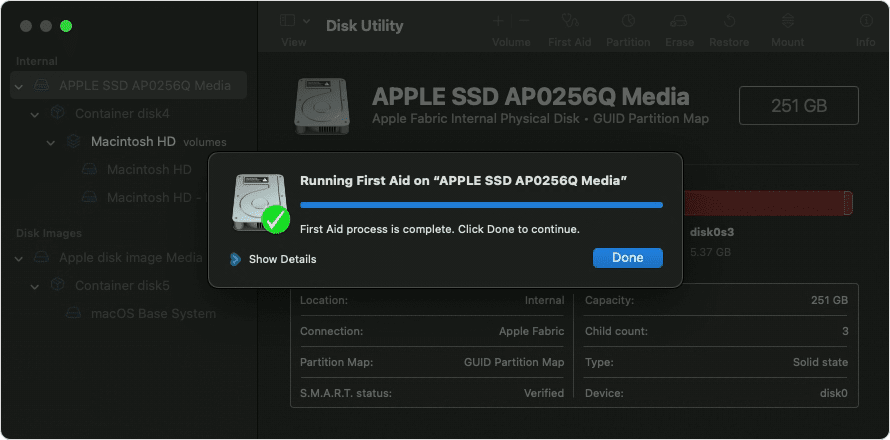
Disk First Aid: process complete

The order of repair in this example was Macintosh HD - Data, then Macintosh HD, then Container disk4, then APPLE SSD.
  
When done, quit Disk Utility. If you used Disk Utility from macOS Recovery, you can now restart your Mac: choose Apple menu  > Restart.


You can read more here:


How to repair a Mac disk with Disk Utility 


Have a good day.

disk not ejected properly when time machine runs

Welcome to Apple Support Community
A forum where Apple customers help each other with their products. Get started with your Apple Account.